When you’re lost or in distress in the wild, knowing how to signal for help could save your life. From thick forests to vast deserts, effective signaling methods make it easier for rescue teams to spot and reach you quickly. In this guide, you’ll learn five powerful signaling techniques that can boost your chances of survival and help you return safely from your outdoor adventure.
Why Signaling for Help is a Critical Survival Skill
Nature is unpredictable—even the most experienced hikers and campers can find themselves facing unexpected challenges. You may lose your bearings, get injured, or become stranded due to sudden weather changes. In such cases, the ability to attract attention and communicate distress is your lifeline.
Being prepared with the knowledge and tools to signal for help can:
- Speed up your rescue
- Reduce panic and improve morale
- Increase your survival odds
Let’s explore the five most reliable signaling methods you should know before venturing into the wilderness.

1. Whistle Blasts: A Compact, High-Impact Sound Signal
A whistle is one of the simplest yet most effective survival tools. Unlike yelling, which quickly exhausts your energy, a whistle can be heard from long distances with minimal effort.
Why a Whistle Belongs in Every Survival Kit
- Lightweight and easy to carry
- Works in dense forests, valleys, or canyons
- Cuts through wind and ambient noise
How to Use It Correctly
Use the universal distress signal: three short blasts in a row, followed by a short pause, then repeat. This is widely recognized by search-and-rescue teams.
Pro Tip: Choose a whistle made of durable plastic or aluminum with no moving parts—it works even when wet or frozen.

Always take a whistle with you when you go outside. It’s a simple but powerful tool. It can greatly increase your chances of being found if you’re in trouble.
2. Signal Mirrors: Shine a Light on Your Location
Signal mirrors are highly effective for daytime rescues. They reflect sunlight to produce bright flashes that can be seen from miles away.
Advantages of Signal Mirrors
- Extremely visible in daylight
- No batteries required
- Compact and durable
How to Use a Signal Mirror
- Stand in the sunlight and face the general direction of where you think rescuers may be (e.g., open sky, road, water).
- Hold the mirror with one hand and use the aiming hole to reflect sunlight toward the target.
- Tilt slightly to produce a flashing effect—this grabs more attention than a steady beam.
Note: Practice using a mirror before your trip. Some signal mirrors come with aiming instructions etched on the back.
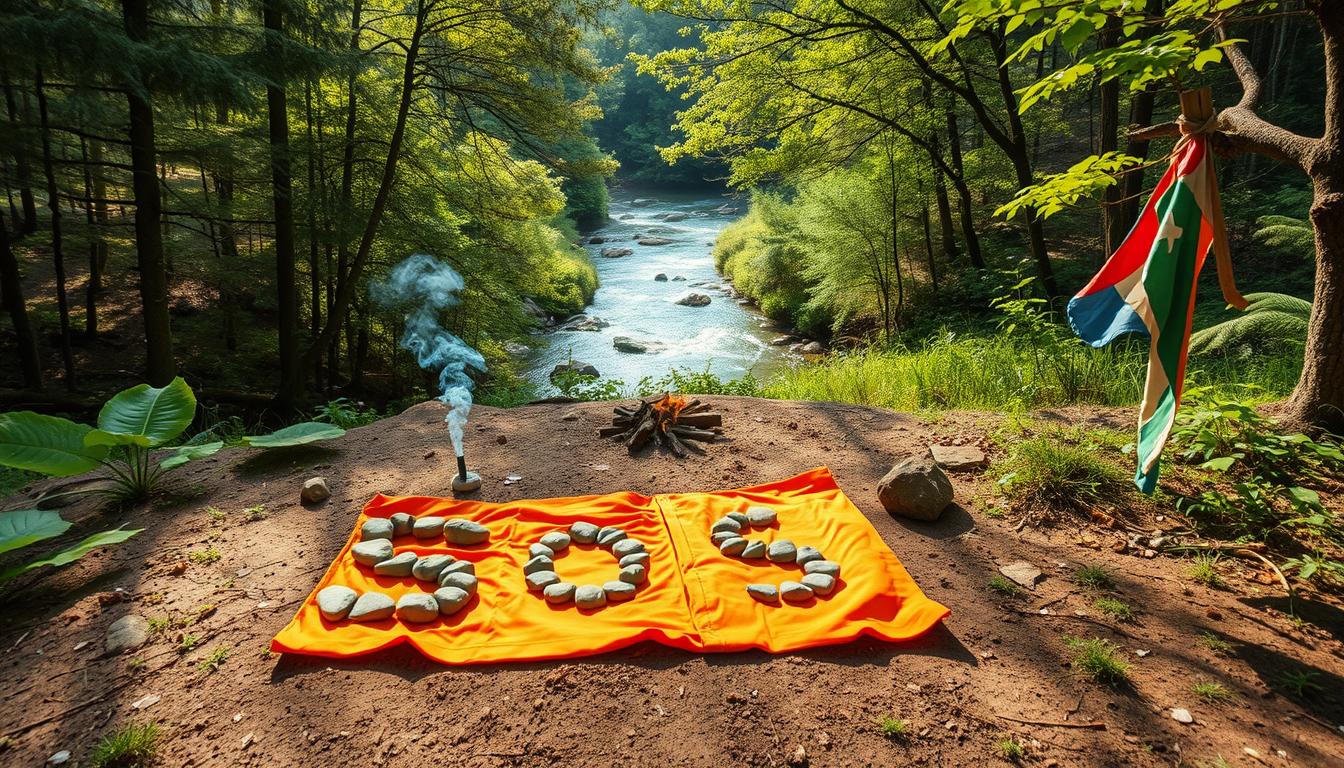
3. Ground-to-Air Symbols: Speak to the Sky
If aircraft are likely to be part of your rescue, ground-to-air symbols are essential. These large, high-contrast symbols created on the ground convey messages to pilots overhead.
Common Ground Symbols and Their Meanings
- “V” – Require assistance
- “X” – Need medical help
- Arrow (\u2192) – Pointing to your direction of travel or nearby help
- “Y” – Yes
- “N” – No
How to Make Effective Symbols
- Use logs, stones, clothes, or any visible material
- Choose open areas like clearings, beaches, or flat hilltops
- Make the symbols at least 8 feet long and 3 feet wide
- Ensure contrast with the background (light on dark, or dark on light)
Tip: Add movement (like waving a shirt) to attract more attention.
4. Fires and Smoke Signals: Time-Tested Alerts
Fire is a versatile tool for warmth, cooking—and especially signaling.
Daytime Smoke Signals
- Add green branches, leaves, or rubber to your fire to create thick white smoke
- Build a fire on high ground or a visible area
- Create bursts of smoke by smothering and releasing
Nighttime Fire Signals
- Build three fires in a triangle or straight line spaced about 100 feet apart—a universal distress signal
- Use materials like rubber, oil, or plastic to create dark smoke (helpful in snowy environments)
- Keep a fire constantly burning to be seen throughout the night
Caution: Always clear the area around your fire to prevent wildfires.
5. Flashlights and Headlamps: Light the Way to Safety
When the sun sets, visibility drops drastically. Flashlights and headlamps become your best tools to signal for help in darkness.
Techniques for Signaling at Night
- Use the same 3-short-flash pattern as whistles
- Pause between repetitions to make the pattern clear
- Aim light toward potential search paths (e.g., trails, rivers, or ridges)
Strobe Mode for Emergencies
Some headlamps and flashlights have a strobe or SOS mode that automatically blinks in a distress pattern. These are excellent for:
- Conserving battery
- Being spotted by rescuers from a distance
- Signaling without needing to operate the device constantly
Tip: Always carry extra batteries or a solar charger to keep your light source powered.
Signaling in Difficult Environments: Bushland vs. Desert
Different terrains require different signaling approaches.
| Signaling Method | Dense Bushland | Desert/Open Terrain |
|---|---|---|
| Whistle Blasts | High | Moderate |
| Smoke Signals | High | Moderate |
| Signal Mirrors | Moderate | High |
| Ground-to-Air Symbols | Low | High |
| Flashlights/Headlamps | Moderate | High |
Adapting to Your Environment
- In bushland, loud noise and vertical smoke are most effective.
- In deserts, visual tools like mirrors and ground symbols work best.
Know your terrain before your trip and prepare accordingly.
Planning Ahead: Prevention is the Best Survival Tool
Signaling is critical—but avoiding danger altogether is even better.
Essential Pre-Trip Prep:
- Always share your plans and expected return time with someone
- Carry a well-stocked survival kit
- Learn basic navigation and first-aid skills
- Check weather and trail conditions
Recommended Survival Kit Items
| Item | Purpose |
| Whistle | Audible distress signal |
| Signal Mirror | Long-range visual signal |
| Fire Starter | Makes fires for warmth, cooking, and rescue |
| Flashlight | Night signaling and navigation |
| Headlamp | Hands-free illumination |
| First Aid Kit | Treat minor injuries |
| Knife | Essential multi-use survival tool |
Pro Tip: Include a laminated card showing distress signals and codes.
Signaling for Help: A Crucial Outdoor Skill
Learning how to signal for help is key for outdoor lovers. It’s a skill that can save your life in the wild. Knowing how to signal can make you safe again.
Signaling for help is vital in the wilderness. It helps you get found by search teams. This can save your life if you’re lost or need help.
Outdoor safety depends on signaling for help. By using these skills, you’re ready for emergencies. It’s a skill everyone who loves the outdoors should learn.