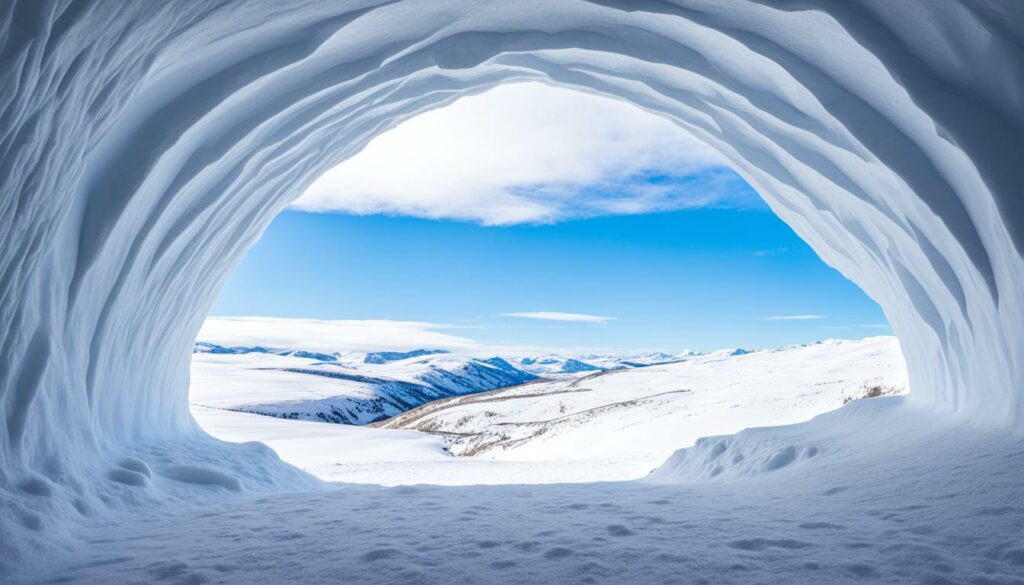
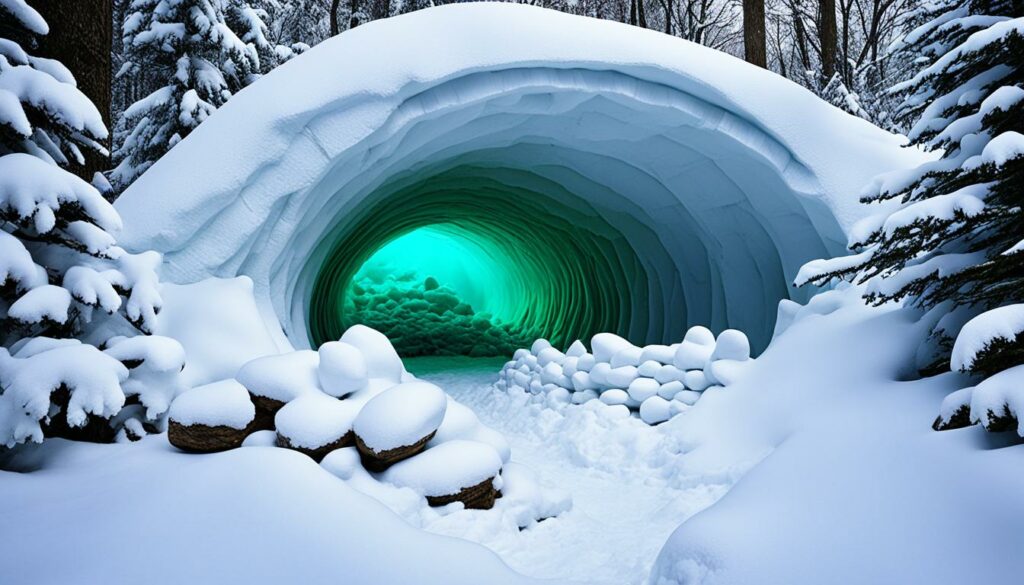
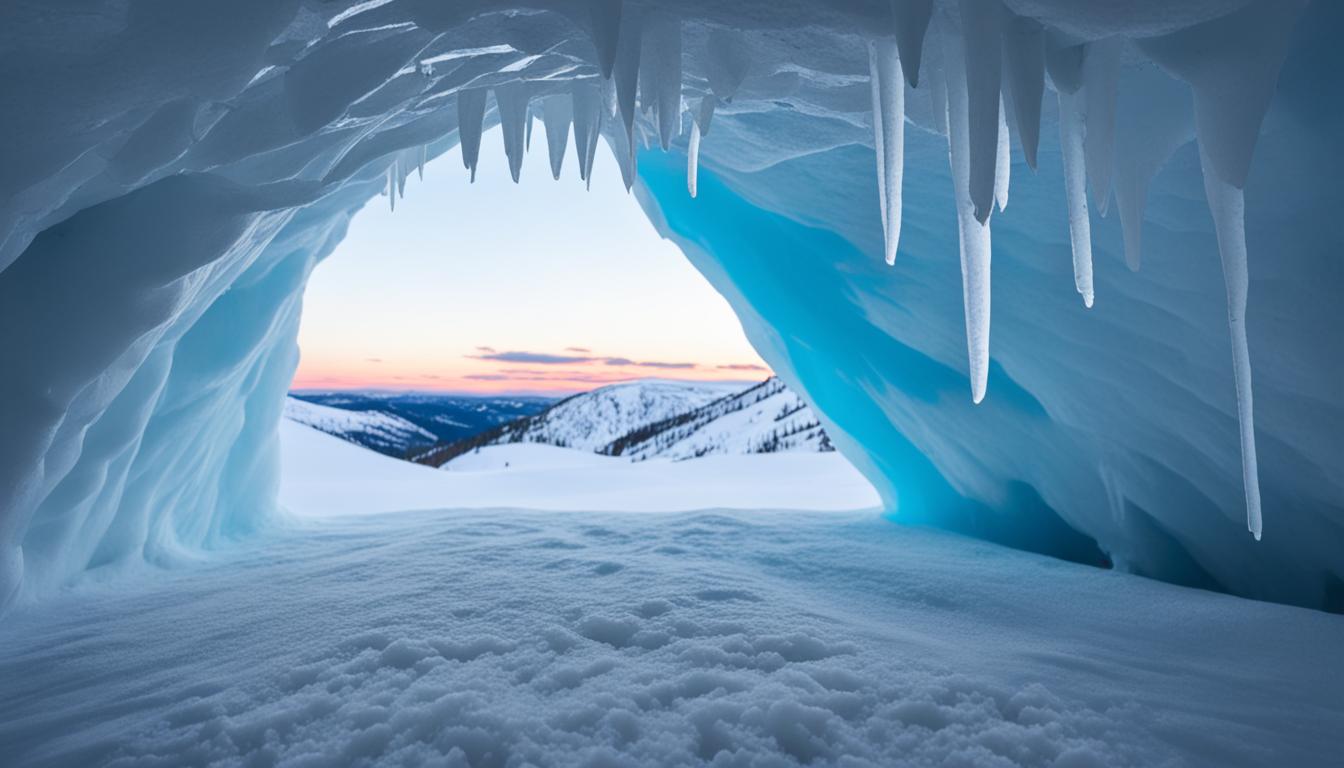
Winter brings the chance to build a snow cave, a fun and rewarding task for outdoor lovers. Making a cozy shelter in the snow is key to surviving winter. It keeps you safe from the cold and harsh weather. This guide will show you how to build a snow cave, using the author’s own experiences and skills.
Key Takeaways
- Learning to build a snow cave is a big help for winter adventures and staying safe.
- Picking the right snow and spot is key for a strong, warm shelter.
- Good digging and air flow are important for a safe and comfy snow cave.
- It’s crucial to follow safety steps when making and staying in a snow cave.
- Keeping and fixing your snow cave can make it last longer for overnight stays.
Winter Survival Skills: Snow Cave Construction Techniques
Learning how to make a snow cave is key for outdoor lovers and adventurers. These small shelters keep you safe from extreme winter weather. They are a must-have for winter emergency preparedness.
Outdoor Adventure: Backcountry Safety in Extreme Weather
Going into the backcountry in winter means knowing how to stay safe. Snow caves are a great way to keep warm and safe from the cold. They protect you from strong winds, lots of snow, and very low temperatures. This helps you survive in extreme weather.
Winter Emergency Preparedness: Snow Shelters for Wilderness Camping
If you’re caught in an emergency or a sudden winter storm, making a snow cave fast can save your life. These shelters keep you warm and block out the wind and snow. They are very important for winter emergency preparedness in the wild.
| Key Snow Cave Construction Techniques | Benefits of Snow Cave Shelters |
|---|---|
|
|
Learning snow cave construction techniques lets outdoor lovers and adventurers face winter safely. They can explore the outdoors with confidence, knowing they’re safe from bad weather.
“A well-built snow cave can mean the difference between life and death in the backcountry during extreme winter conditions.”
How to Build a Snow Cave
Learning to make a snow cave is key for outdoor lovers in winter. It teaches you to make a warm place in the snow. This skill makes you better at snow cave construction.
The steps to build a snow cave are:
- Find snow that’s deep and just right for building.
- Dig a hole for the entrance, making it a bit uphill to keep snow out.
- Carve out a spot for sleeping and storing things inside.
- Make the walls and ceiling strong.
- Put a special wall over the entrance to keep it warm.
- Make sure there’s air coming in to keep you safe.
- Use something warm to cover your bed area.
By doing these steps, you can turn snow into a safe and warm place. It’s ready for the coldest winter weather.
“Building a snow cave is a vital wilderness survival skill that can mean the difference between life and death in extreme winter conditions.”
With the right steps, how to build a snow cave is a great skill. It lets you enjoy the snowy outdoors safely and comfortably.
Finding a Suitable Snow Drift
Choosing the right snow drift is key when building a snow cave. It should be at least 20 feet high, 40 feet wide, and 100 feet long. The snow should be compact and well-packed for stability and insulation.
Snow Cave Insulation Methods: Choosing the Right Location
Where you place the snow drift matters a lot for insulation. Pick a spot on the back side of the drift, away from the wind. This makes the snow cave more sheltered and safe inside.
Checking the snow’s quality and density is also important. You can do this by digging a small hole. The snow should be dense and hard-packed for better insulation and a strong snow cave.
| Snow Drift Characteristics | Ideal Specifications |
|---|---|
| Height | At least 20 feet |
| Width | At least 40 feet |
| Length | At least 100 feet |
| Snow Compaction | Dense and hard-packed |
| Location | Back side of the drift, away from wind exposure |
By picking the right snow drift and location, your snow cave will be well-insulated. It will be a safe place during extreme winter weather.
Starting the Digging Process
Starting to dig a snow cave needs a careful plan. First, cut a path into the snow to make an easy way in. Use a strong shovel to start digging inside, making the cave’s shape and size.
It’s important to keep the floor the right height and slope. This makes sleeping comfy and helps air move in the cave. A well-designed cave is cozy and lets in air, perfect for your outdoor trip.
- Cut a path into the snow drift to create an entryway.
- Use a shovel to excavate the interior, shaping the layout and dimensions.
- Maintain a specific floor height and slope to enable air circulation and a comfortable sleeping area.
| Step | Description | Estimated Time |
|---|---|---|
| Cut Entryway | Carve a path into the snow drift to create an access point. | 10-15 minutes |
| Excavate Interior | Use a shovel to carefully remove snow and shape the layout. | 30-45 minutes |
| Adjust Floor Height | Ensure the floor has the correct height and slope for ventilation and comfort. | 15-20 minutes |
Remember, snow cave digging and snow cave excavation need careful work and a steady hand. By following these steps, you’ll make a warm and safe winter shelter for your outdoor adventure.
Excavating the Interior
Making a great snow cave begins with digging out the inside. This step is key for the cave’s shape, comfort, and use. It’s about digging out the sleeping area and adding smart design touches. This makes the snow cave strong and cozy.
Snow Cave Construction Techniques: Shaping the Sleeping Area
Start by digging out the inside of the cave. Make benches and sleeping spots along the sides and back. This helps keep you warm and comfy.
Shape the ceiling right to keep the cave strong and warm. This is key for a good night’s sleep.
- Carve out benches and platforms along the walls for sleeping
- Carefully sculpt the ceiling to maintain strength and insulation
- Incorporate a small shelf for a candle or other essential items
Digging out the snow cave takes time and care. By learning how to build a snow cave, you’ll make a cozy place for winter.
| Step | Description |
|---|---|
| 1. Carve out the sleeping area | Create benches and platforms along the walls of the snow cave for sleeping |
| 2. Shape the ceiling | Carefully sculpt the ceiling to maintain structural integrity and optimize insulation |
| 3. Add a shelf | Incorporate a small shelf for a candle or other essential items |
“The key to a successful snow cave is the attention to detail during the excavation process. It’s where the foundation of your winter shelter is built.”
Enclosing the Snow Cave
Building the front wall and entrance is the last step in making a snow cave. This makes the cave cozy and safe for winter. You need to carefully fit snow blocks together to make a strong doorway.
Building the Front Wall and Entrance
Start by picking and arranging snow blocks for the snow cave front wall. Stack them like bricks to make it strong. Use ski poles or long sticks for extra support in the snow cave enclosure.
After the wall is up, work on the snow cave entrance. Make the opening narrow and arched for easy getting in. Use more snow to fill in any holes and make it tight.

With the front wall and entrance done, your snow cave is ready. It’s now a safe and warm place for winter. Paying close attention to the front wall and entrance makes your cave strong and cozy for your adventures.
Ventilation and Air Circulation
Keeping your snow cave well-ventilated is key for your safety and comfort. Good airflow stops stale, carbon dioxide-rich air from building up. It also keeps the temperature right, making your space cozy and breathable.
To get good airflow, use a ski pole or a strong tool to make a small air hole at the top of your snow cave. This lets fresh air in and keeps the heat from melting the cave.
Also, place your snow cave’s entrance so it catches the wind. This makes a natural airflow that brings in fresh air and takes out stale air. This easy change can really help keep your space comfy and well-ventilated.
By focusing on snow cave ventilation and air circulation, you can have a safer and nicer winter camping trip. You’ll lower the risk of carbon dioxide poisoning and temperature problems.
| Ventilation Technique | Benefits |
|---|---|
| Ceiling vent with ski pole | Allows for constant fresh air flow, prevents heat buildup |
| Aligning entrance with wind direction | Creates natural air circulation, expels stale air |
“Proper ventilation is the key to a comfortable and safe snow cave experience. Never underestimate the importance of maintaining a steady flow of fresh air.”
By using these easy but effective ventilation tips, you can make sure your snow cave has good air. This lets you rest and recover safely during your winter adventures.
Safety Precautions for Snow Cave Building
Building a snow cave is fun and rewarding. But, safety comes first. Before you start, think about these important steps. They help make sure you stay safe and have a good time in the snow.
Outdoor Adventure: Winter Survival Skills for Backcountry Safety
Learning winter survival skills is a must for outdoor lovers. Know how to move in the snow, spot dangers, and use your emergency gear. Having these skills can save you in an emergency in a snow cave.
- Prioritize working with a partner or group for safety and support.
- Carefully evaluate the snow conditions and choose a suitable location for your snow cave.
- Take measures to prevent the collapse or entrapment of the structure, such as monitoring the snow’s stability and reinforcing the walls.
- Ensure proper ventilation and air circulation within the snow cave to prevent carbon monoxide buildup.
- Pack essential survival gear, including a first-aid kit, fire-starting equipment, and emergency communication devices.
Follow these safety tips when building your snow cave. This way, you can have fun in the winter without big risks. Learning about snow cave safety and winter survival skills is crucial for safe adventures in the backcountry.
Insulating and Reinforcing the Snow Cave
To make your snow cave last longer and stay warm, focus on insulation and reinforcement. These steps help make a cozy and safe place for you. They keep you safe from the cold.
Pouring water over the snow cave is a good way to insulate it. When it freezes, it makes a thick ice layer. This ice keeps the cave warm by trapping heat inside.
You can also use materials to make the cave stronger. Cover it with tarps or plastic to block wind and snow. Use ski poles or strong objects to hold the cave walls together.

Using snow cave insulation and snow cave reinforcement makes a strong and warm shelter. This makes sure you stay safe and comfy on your winter adventure.
Packing and Preparing for Overnight Stay
Going on a snow cave overnight stay needs careful planning. Make sure you have all the gear and supplies you need. This will make your stay safe and comfy.
Start by packing your snow cave packing must-haves. These include a sleeping bag for cold weather, a sleeping pad, a light source, and warm clothes. Also, remember to bring a stove, fuel, and a cooking set for hot meals.
- Sleeping bag rated for cold temperatures
- Sleeping pad
- Headlamp or flashlight
- Extra layers of warm clothing
- Stove, fuel, and cooking set
Think about safety for your snow cave overnight stay too. Bring a first-aid kit, a whistle, and a way to signal for help. Having a small shovel can also be useful for snow removal or cave adjustments.
- First-aid kit
- Whistle
- Signaling device
- Compact shovel
After packing, arrange your gear in the snow cave carefully. This makes it easy to get to your things and avoids digging them out later. When you leave, make sure to close the cave from the outside to prevent accidents.
“Building a snow cave is a rewarding winter survival skill, but it’s essential to be prepared for the overnight stay. Packing the right gear and supplies can make all the difference in ensuring a comfortable and safe experience.”
Snow Cave Maintenance and Upkeep
Keeping your snow cave safe and strong is key for a great winter trip. You need to take care of it to avoid problems and keep it warm and useful. Here are the main steps to keep your snow cave great all winter.
Inspecting for Stability
Check your snow cave’s walls, ceiling, and entrance often for damage or weakness. Watch for cracks or thin spots that could make it unsafe. Fix any problems fast to stay safe and keep the cave from falling down.
Reinforcing the Structure
Over time, your snow cave might lose shape or get weaker. To keep it strong, add more snow or pack down the snow around it. This stops it from falling down and keeps you safe and sound.
Maintaining Ventilation
Good air flow is key in a snow cave. Make sure the air vent is clear so air can move freely. Clean the vent of snow or ice to keep the air fresh.
Clearing Entrances
Snow or ice can block your snow cave’s entrance. Keep the entrance and paths clear for easy access. This helps with air flow and stops air from getting trapped.
By doing these things, your snow cave will stay warm, safe, and last longer. Taking care of your snow cave means you can enjoy the winter beauty without worry.
| Maintenance Task | Frequency |
|---|---|
| Inspect for Structural Integrity | Daily |
| Reinforce Walls and Ceiling | As Needed |
| Maintain Ventilation | Daily |
| Clear Entrance and Pathways | Daily |
Conclusion
Building a snow cave is a key skill for staying safe in the cold. This guide teaches how to make a strong and safe snow shelter. It helps outdoor lovers, campers, and emergency teams to stay warm and safe.
It talks about picking the best snow and making the cave well-ventilated. This way, adventurers can make a cozy and safe snow cave. It’s useful for unexpected snowstorms or planned camping trips in the wild.
With the tips from this article, you can build a snow cave that keeps you safe and warm. This skill makes outdoor adventures safer and more fun. It gives you peace of mind and makes you ready for anything.
FAQ
What are the key steps for building a snow cave?
What are the recommended dimensions for a snow drift to build a snow cave?
How do you excavate the interior of a snow cave?
What is the process for enclosing the snow cave?
Why is ventilation and air circulation important in a snow cave?
What are some key safety precautions for building and using a snow cave?
How can you insulate and reinforce a snow cave?
What should you consider when packing and preparing for an overnight stay in a snow cave?
How do you maintain and upkeep a snow cave?
Source Links
- How to Build a Snow Cave for Winter Survival – https://www.instructables.com/How-to-Build-a-Snow-Cave-for-Winter-Survival/
- How to Build a Snow Cave – https://scoutlife.org/outdoors/150860/how-to-build-a-snow-cave/
- How to Build a Snow Cave (with Pictures) – wikiHow – https://www.wikihow.com/Build-a-Snow-Cave
